 Nederlands
 English
Portal settings
Make your Ecmanage customer environment even more professional!
1. Create a logo with a transparent background
Often your Customer will provide a logo without a transparent background. Do you recognize this?
With a few simple steps you can make the logo look a lot more professional. In this instruction we will try to help you with the steps to make the logo look good on your customer portal. In order to make the background transparent we can use a freely available drawing program such as Paint.net.
The examples provided here were based on the Windows veris of Paint.net 4.0
In this example we use a portal with an Ecmanage logo, in combination with a blue background colour. In the image below you can see that the logo with a white background does not look good with the blue header. So how do we remove the white background in the logo and make it transparent?

1.1 Download Paint.net
Download Paint.net from the internet and install the program on your desktop.
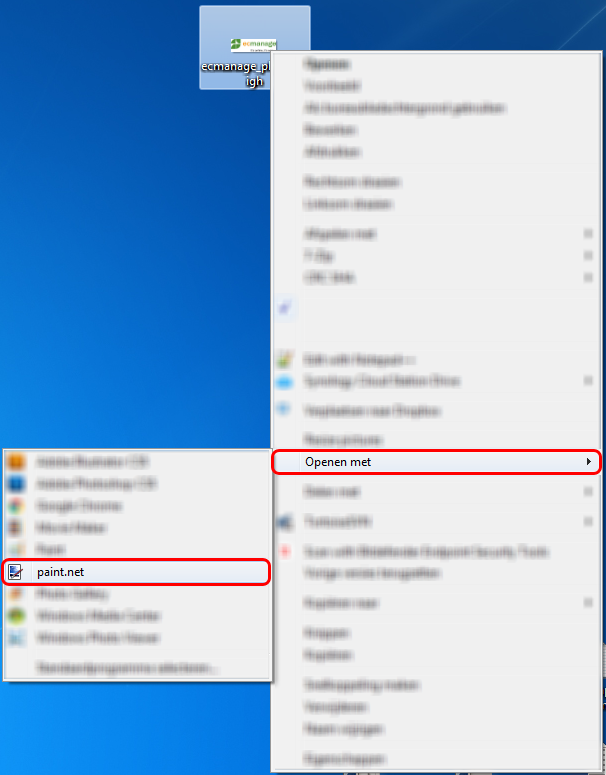
1.2 Open the logo via Paint.net
Open the logo that you want to change via Paint.net. We use the Ecmanage logo in this example. Using the right mouse button Click on the logo and choose “Open with” in the Windows menu. Then choose “Paint.net”
1.3 Make background transparent
The logo is opened in the Paint.net program. You can make the background of the logo transparent by using the “Magic wand” tool. Click on the magic wand and then click on the white background of the logo. The magic wand selects all adjacent pixels of the same colour.
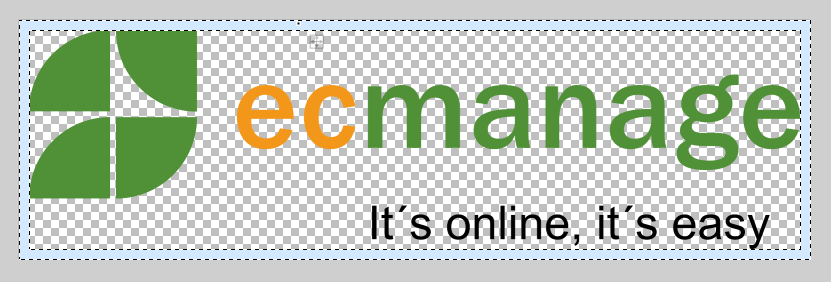
Then press “Delete button” on your keyboard. The selected white background is removed and gray-white blocks appear in the background. This shows that no background color is used.
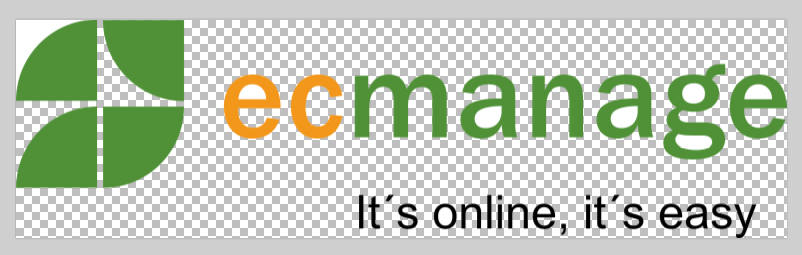
In the picture above you can see that there are still some areas white. These do not border the (large) white area that was previously selected. Therefore, select all small white areas again with the magic wand (such as the inside of the O, A, G & E) and also delete these small white areas with the delete button.
1.4 Extra space around logo (Optional)
In the image at the top of the page you can see the logo is close to the top and the menu below. We would prefer to add some spacing to the logo and therefore create some room in the top banner of the portal.
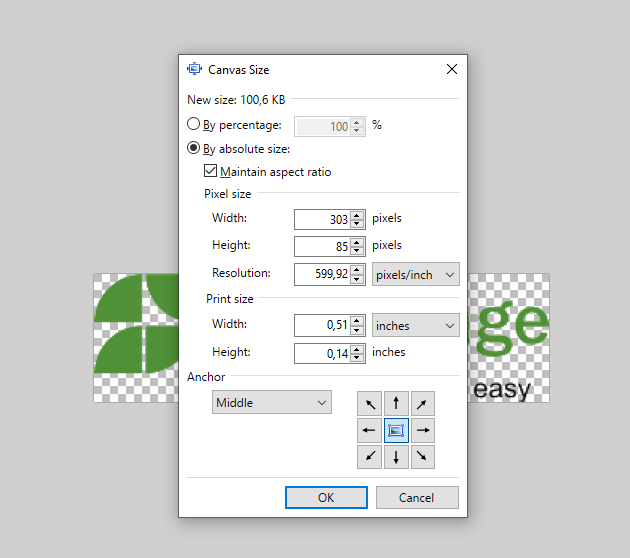
With Paint.net we can easily create extra room around the logo. Choose “Image” from the Paint.net menu and then “Canvas size”. In the dialog that appears, you can adjust the size of your image, without enlarging the logo itself. Paint.net places space around it.
In the dialogue you can see how large the image is currently. In our example the Ecmanage logo is 303 x 85 pixels. You can increase the number of pixels by using the arrows at the width and height. Make sure you uncheck the option “Maintain aspect ratio” and the Anchor point is “Middle”. This way extra space will be added on all sides of the logo. Then click “OK”.
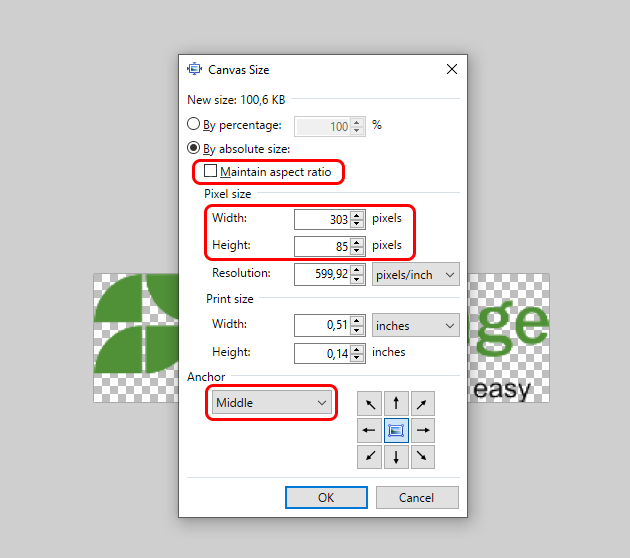
We increased the width and height both by 20 pixels. This makes the width 323 pixels and the height 105 pixels. A white border is created around the logo which is the same on all sides. This can be removed again with the magic wand and the delete button on the keyboard, just as we did before.
1.5 Correct size of the logo (optional)
The size of the image dictates how big the logo is in the web browser. Also optional order confirmation e-mails are generated with this logo. We advise a maximum height of 160 pixels in the portal. (This is also a good height for the e-mail logos)
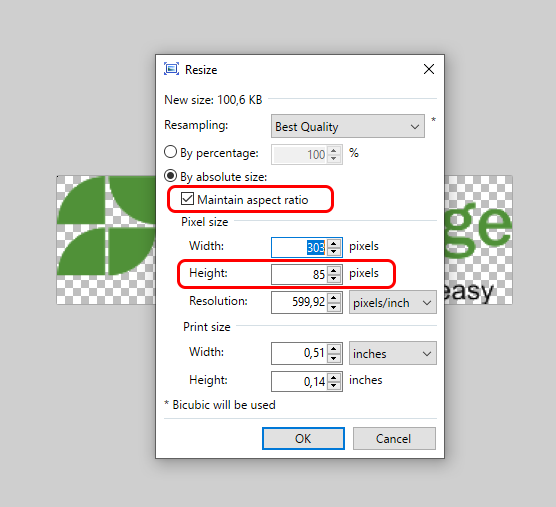
The height of the logo can be adjusted using Paint.net. Do this only when the height of your logo is more than 160 pixels. Select “Resize” from the “Image” menu. A dialog appears similar to the dialog from the previous step (4). However, the operation is different!
Make sure you have the option “Maintain aspect ratio” on. Then change the number at height to 160 or less and the logo will resize in proportion. The width is automatically adjusted. Then click “OK”.
1.6 Save logo
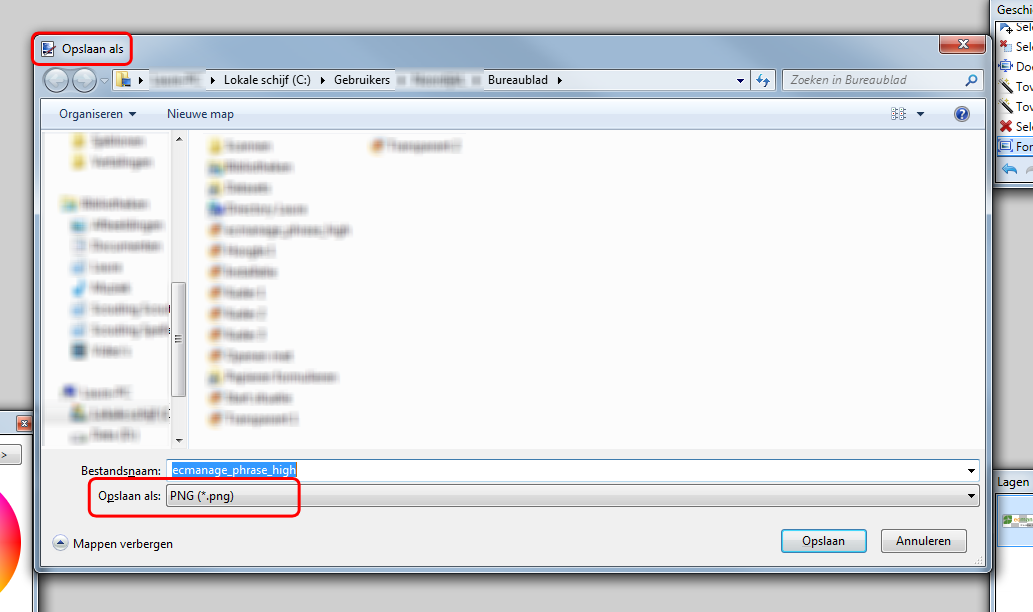
Now that we have removed the background and it is transparent, we have to save the logo with the correct options. Select “File” and “Save as” in the menu. In the “Save As” dialog that appears, you can choose the correct location where you want to save the logo. It is also important to choose the correct file format for Ecmanage, please select PNG (*.png) in the dropdown. This file format supports transparant backgrounds.
1.7 Upload the result to the customer portal
Now that we have saved the logo, we can upload it via the Ecmanage portal. Go to the customer portal and choose “System” from the menu and chhose “Portal settings”. Look for the heading “Change current logo” there you can upload the file you have saved in the previous step. The portal now has a logo where you can see the background colour through the logo:
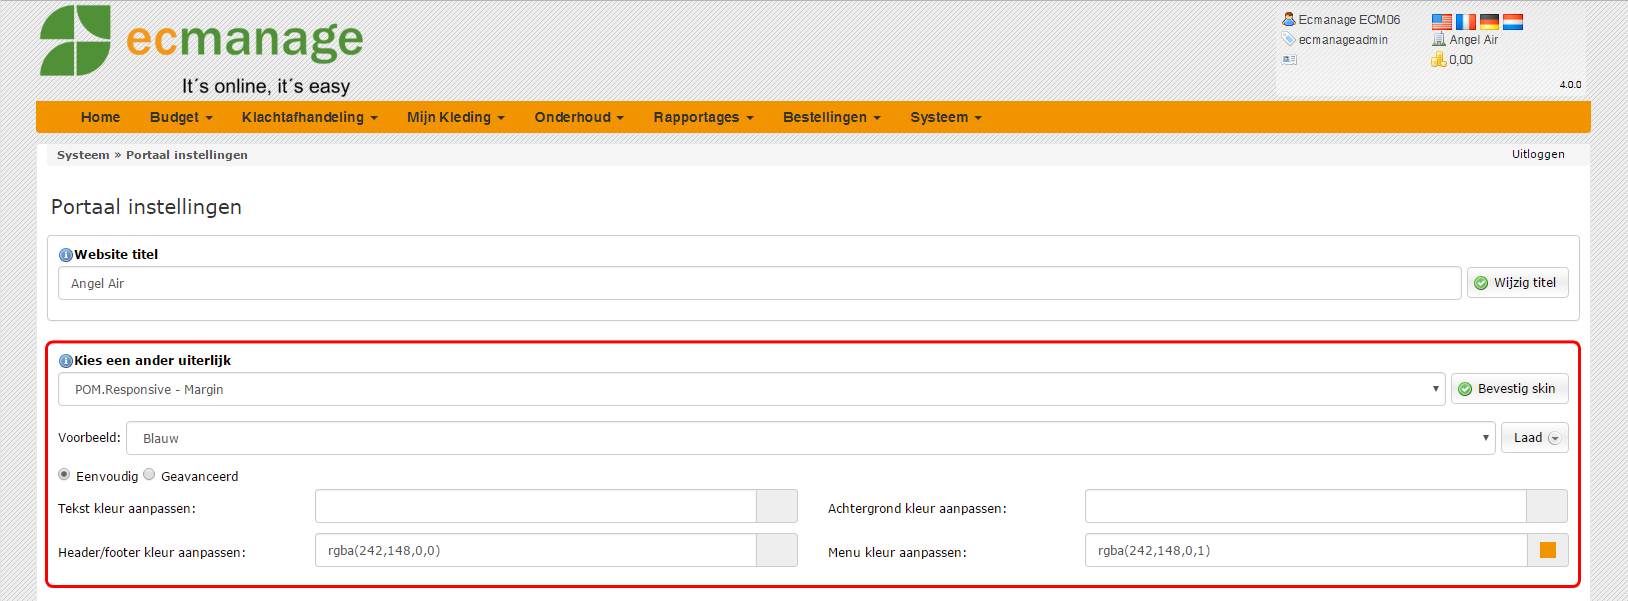
2. Responsive design and how to choose a colour to match your company logo
The default website layout is responsive for the pages that are used by the consignee. An extra number of options will appear with which you can experiment with colours. The radio buttons Simple and Advanced give you the possibility to change a lot of options. With these detailed settings you can adjust colours of menus, panels, header, background, footer and much more. Here we have an example based on the Ecmanage base colour of orange.
3. Homepage refinement
It is also possible to provide the Home page with a new look:
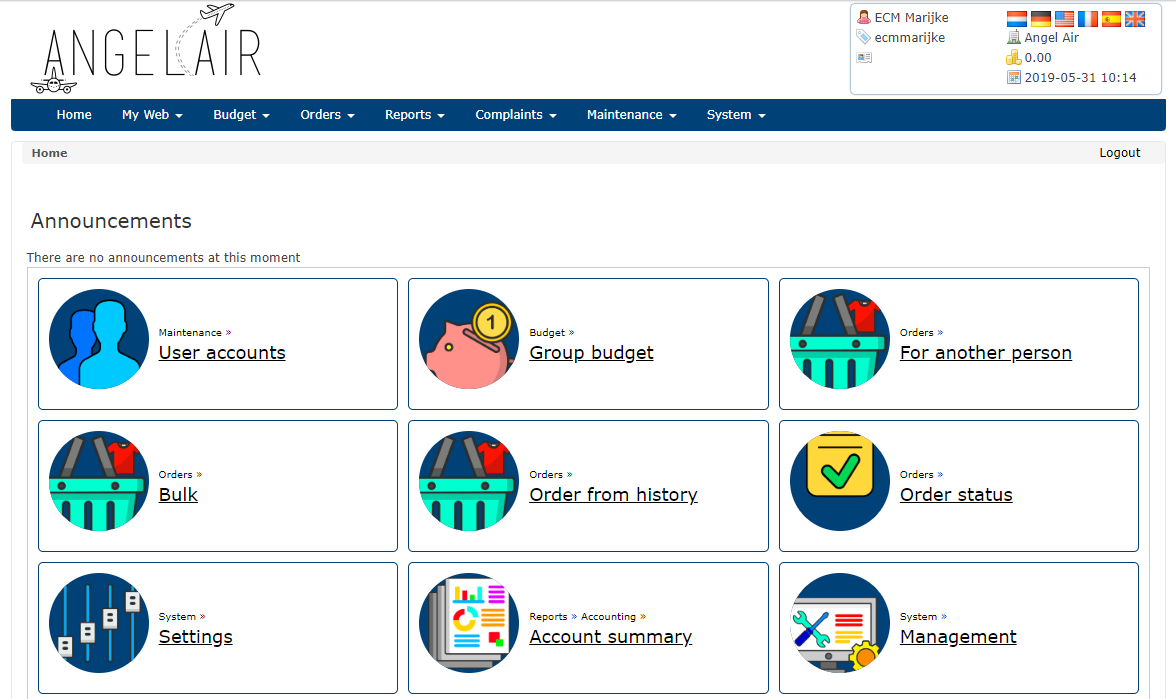
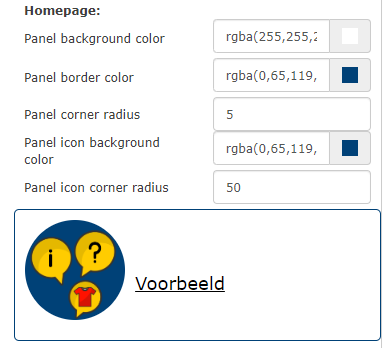
If you want to change this, you can find this under the advanced settings under the heading Homepage. The following adjustments can be made:
Panel background color
Panel border color
Panel corner radius
Panel icon background color
Panel icon corner radius
When the adjustments have been made, they must be confirmed with the button: Submit skin.
To be able to show the new modified homepage, an adjustment has to be made system >> customer settings under the heading: User settings.
Here is the following option: Should the old start module be shown on the homepage? must be set to “No”. After this, the new home page is displayed on the customer environment.
We hope that with the help of this wiki you can make incredible customer environments for your clients.