 Nederlands
 English
Customer settings
For every customer that is created in the supplier portal, there are various options which can be further configured. In this way it is possible to create a setup which caters to the needs of your customer. The customer settings consist of the following area’s:
Address selection in the order
Budget configuration
Complaints
Import settings
Orderscreen settings
Payment methods
Signaling settings
User settings
Workflow setup
In addition, the following items can also be adjusted on this page:
E-mail configua
Taal instellingen
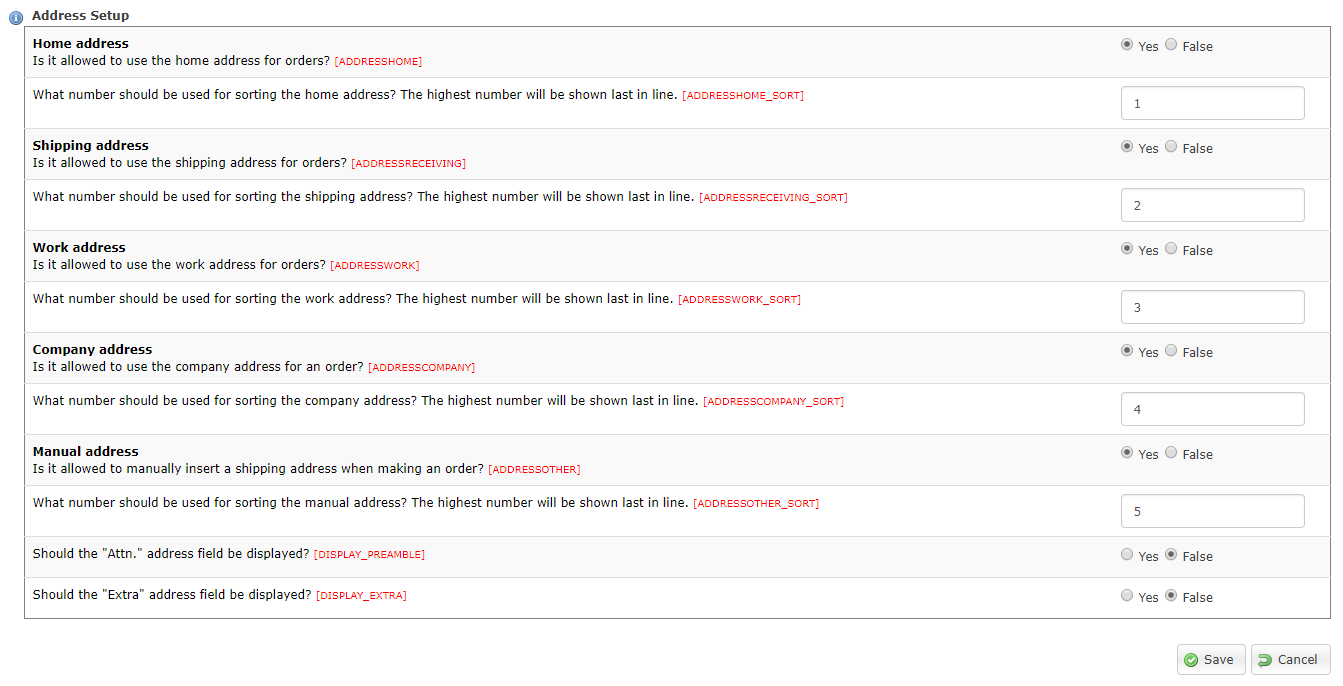
1. Address selection in the order
With the address settings you can set which address types to use for the order screen. When you enable more than one address type the display order can also be defined. The display order is indicated by a number, number 1 is shown first in the order screen.
Home, Shipping and Work addresses can be defined at a person level. Company Address is the address of the department to shich the person is linked.
2. Budget configuration
Under this heading there are various options with regard to the distribution of points. But also whether or not a person can order when he or she does not have sufficient budget and whether or not a budget can be automatically distributed.

3. Complaints
When using the complaints module it is possible to indicate to which address an e-mail will be sent when a new complaint has been created. We recommend using a general e-mail address for this. If this is a personal address and the person in question is no longer involved in processing complaints, this address must be changed manually in all environments.
In addition, there is the possibility to send an e-mail to the person who created the complaint.

4. Import settings
Through these settings you can alter the behaviour of the import process. When importing person data you can indicate if certain data can be over written or not.

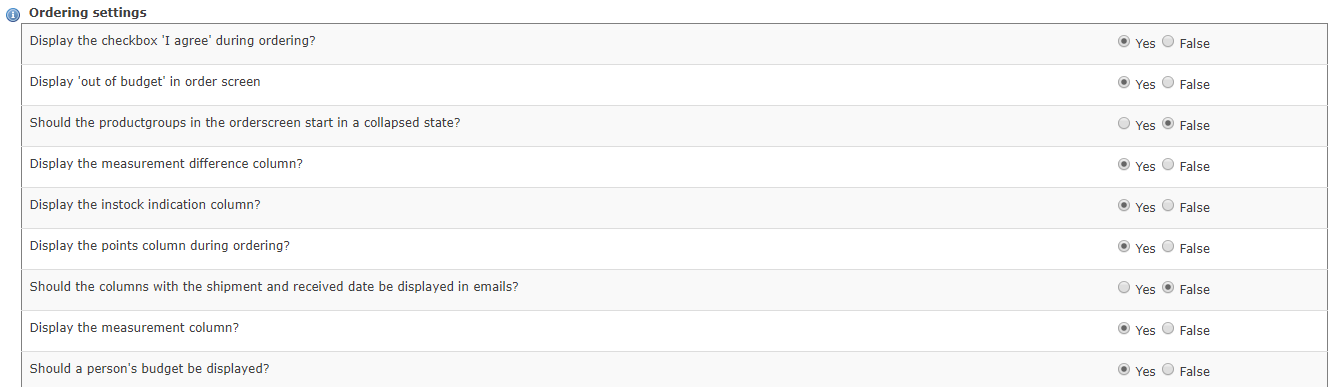
5. Orderscreen settings
This heading contains all settings related to the order screen. From the calculation of points, whether or not certain informational columns must be shown. Some subjects are self explanatory and some are described in more detail below.
Allow to select alternate sizes in orderscreen
Using the setting “Is it allowed to select sizes while a person orders for himself” you can allow or disable if a user can select a size for a product in the orderscreen. It is important to understand that if a user is not allowed to change the size in the orderscreen that the user measurements need to be defined in the user profile. There is also the option to limit the amount of sizes a use can deviate based on his defined size using the setting: “Permissible dimensional deviation based on the order in the size table if allowed to select a size”. If this is set to 0, you may not deviate from the size. For example, if it is set to 2, a maximum of 2 sizes larger or smaller may be selected.
Store last used data from an order in the profile
For the following items it is possible to indicate whether data from the order can be saved for future use: - Last used e-mail address consignee - Last used e-mail address buyer
For the other options regarding the saving of data in the profile, see also the heading User settings.
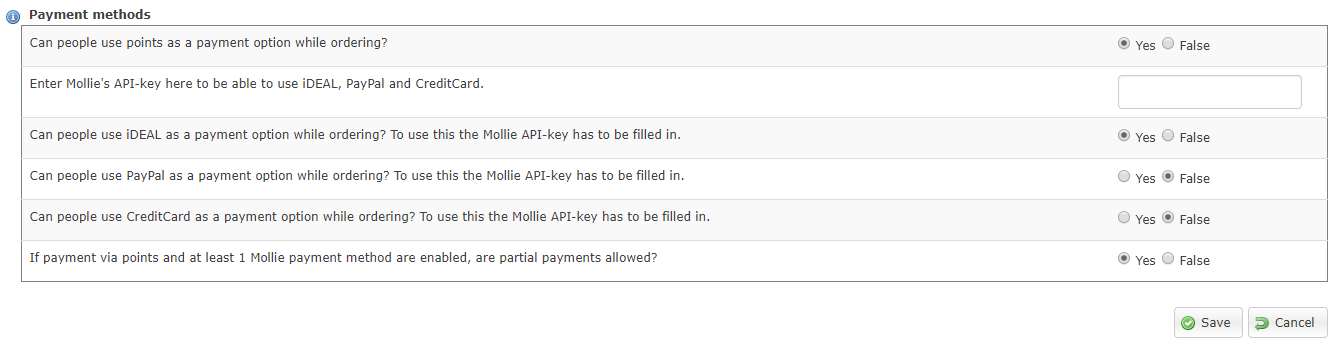
6. Payment methods
For the processing of payments we user Mollie as a payment provider. For more detailed information please see: manual Payment method with a Mollie account
7. Signaling settings
For the options of the signaling settings see: manual signaling

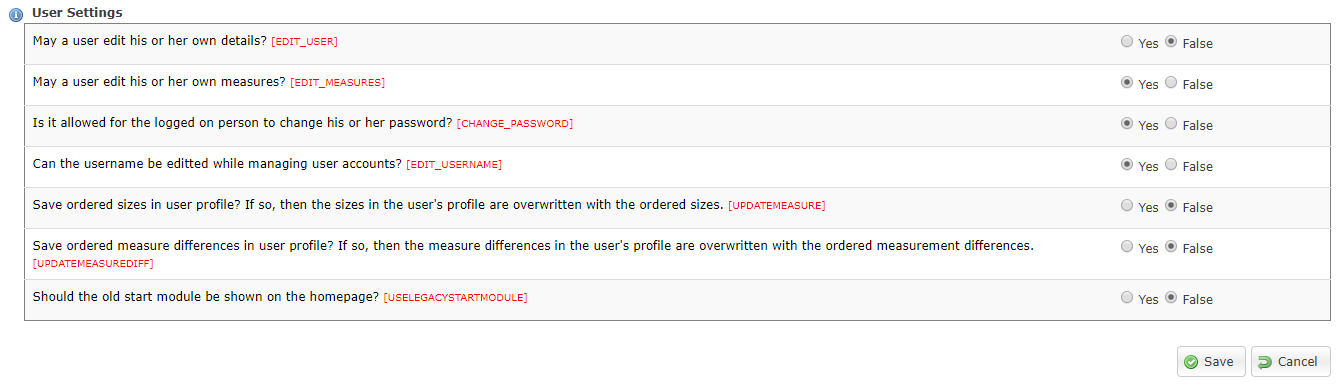
8. User settings
With these settings you can set which data the user can alter. In addition, it can be determined whether the data can be stored in the profile of the user.
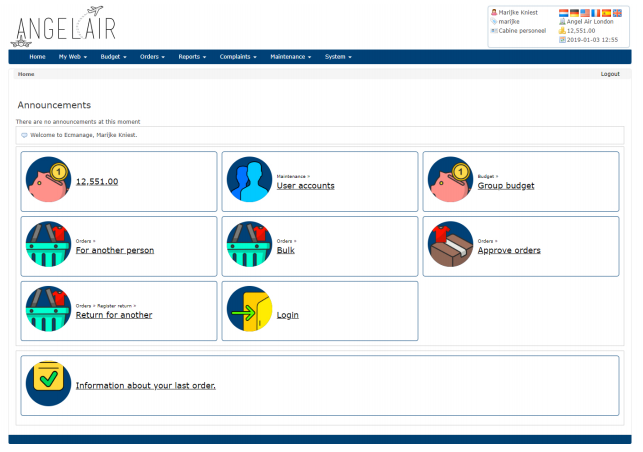
Start module on the homepage
On the homepage we have the option to show a panel based user interface (“new” module) or a list of shortcuts to functionality which is available for users (“old” module). The panel based interface is default for new environments and looks as follows:
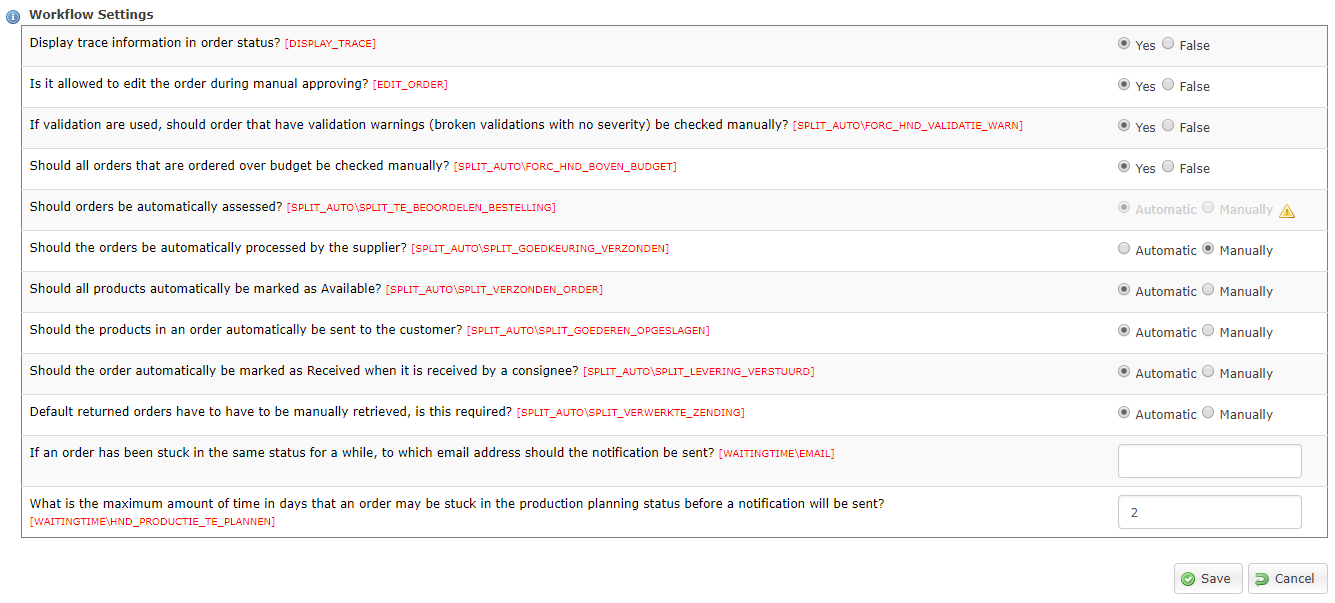
9. Workflow setup
The order workflow has support for a list of detailed steps. For each step you can decide if this is displayed in the system. For example, whether or not an order needs to be automatically approved. And whether the order can be changed during manual approval.
There are also a number of steps that can be carried out automatically. The default setup is to process most workflow steps automatically after the order is created in the system.
10. E-mail settings
Under customer settings >> E-mail settings the e-mail settings can be adjusted.
General
It is important to include: ‘Enter the e-mail address here as the sender of all sent e-mails from the system, for example, noreply@ecmanage.co.uk’ fill with a no-reply e-mail address. If it is not filled, the e-mails will probably end up in the SPAM filters of the users who receive an e-mail.

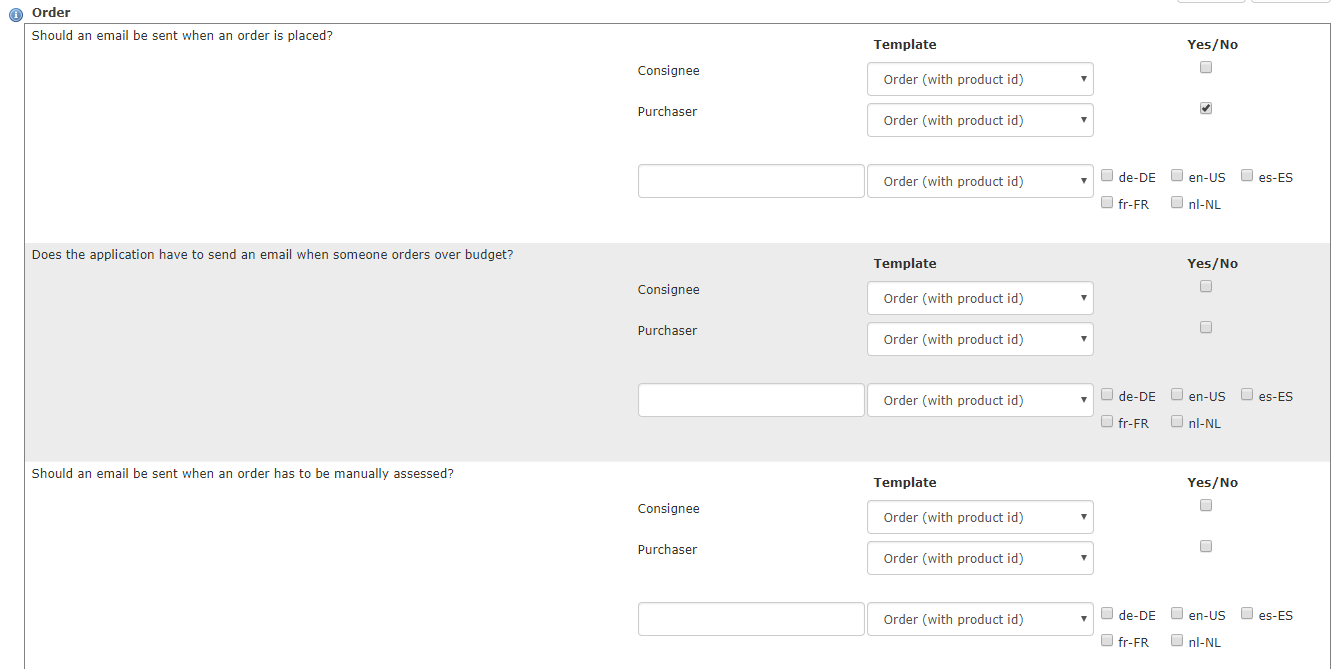
Order
Here you can indicate at what time and to whom an e-mail will be sent. We advise, when an e-mail must be sent to the supplier, to place it in the following field: Should an e-mail be sent when an order has been approved?
When a check is made at the consignee or the purchaser, e-mails will be sent to the users with this role when this is applicable.
When choosing a template for the orders you can choose which information to show in the e-mail, this can be product name or the assortment id (often a supplier specific code for a product).
11. Language settings
We have the option of phrases in ecmanage. Each frase has a defualt translation to each language. In this screen you can alter your text for a phrase. When ecmanage refers to this phrase on screen or in an email your text will be used.
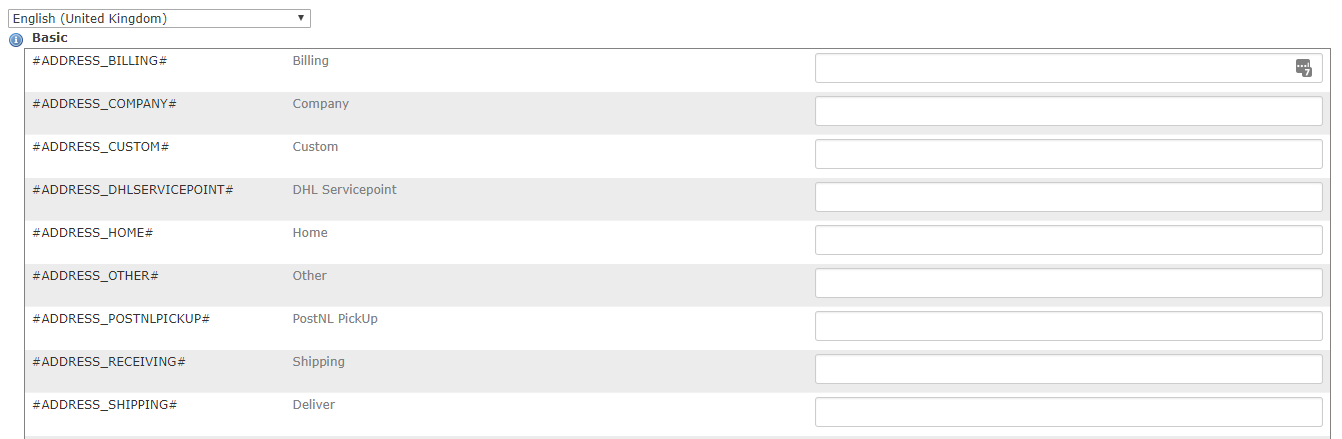
For example: If Points become Euro’s. From now on the word Euro’s will be shown in the screens or emails.
